Sussex, Surrey & Kent · 7 min read
How to Bring All Your Garden Ideas Together Into One Design That Works
Most homeowners we meet have years of saved inspiration and no way to join it up. Here is the process that turns a folder of ideas into one garden that works around your home.
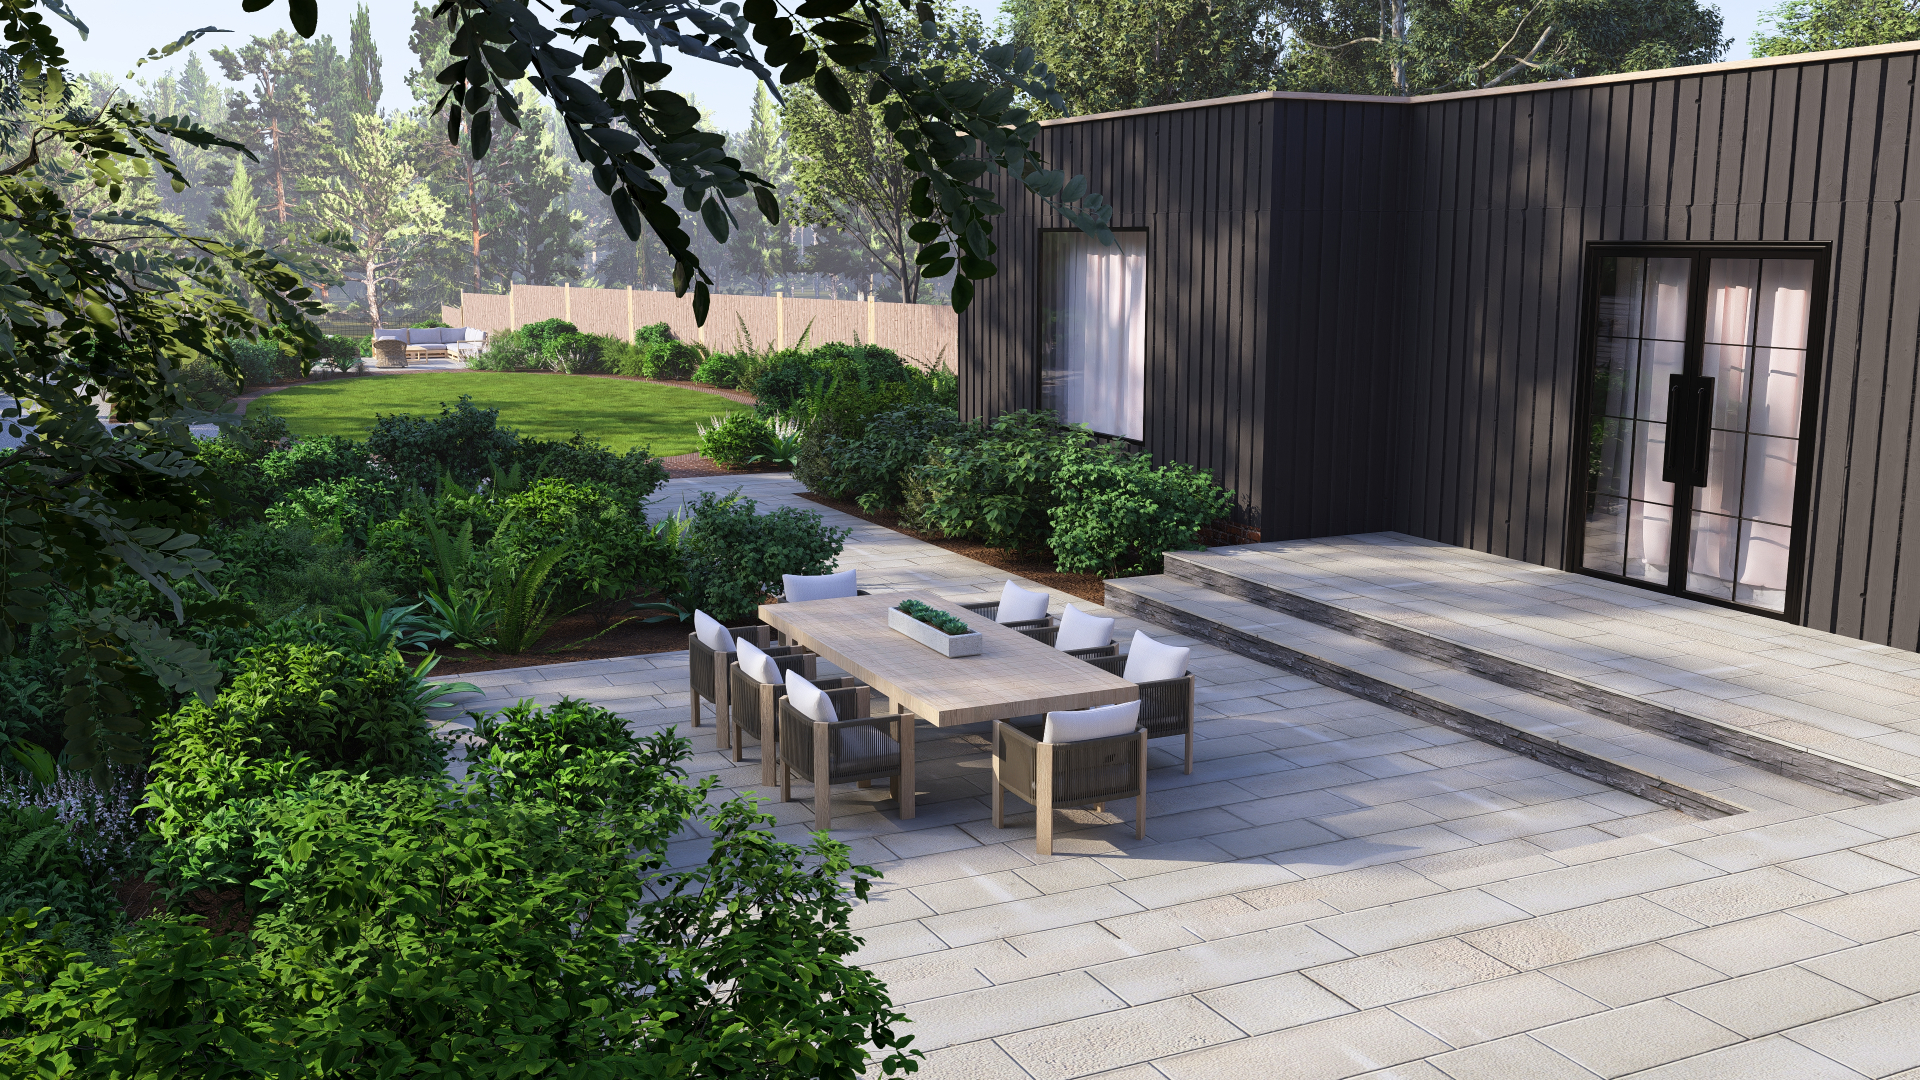
Every element in this garden started as a separate saved idea. The design joined them into one space.
Almost every client who walks us round their garden starts the same way: they open their phone and show us a folder. Hundreds of saved posts, screenshots and pins - a sunken fire pit here, a larch-clad studio there, a pergola, a water bowl, a planting scheme they love. The ideas are good. The problem is that they belong to twenty different gardens, and the plot outside the back door is only one.
Bringing those ideas together is the actual job of garden design. It is not about finding more inspiration - you already have plenty. It is about editing, testing and joining up what you have saved so it becomes one space that works around your home, your levels and the way you actually live.
Why saved ideas do not add up to a garden
Inspiration images are almost always shot in gardens with different bones to yours: different levels, different light, different boundaries, usually a bigger budget and often a different climate. A courtyard idea saved from a London mews behaves completely differently on a sloping Weald clay plot in Mid Sussex. None of that makes your ideas wrong - it just means each one needs translating before it can belong to your garden.
The other trap is accumulation. A fire pit and a dining terrace and a lawn and a veg bed and a studio and a pond can each be lovely, but on an average plot they compete. A good design is usually your favourite three or four ideas done properly, not all twenty done at half size.
Step one: sort ideas by use, not by style
Before any drawing happens, we ask clients to group their saved images by what they want to do in the garden - eat outside, sit in the evening sun, give the children somewhere to play, work from home, entertain a crowd. Style comes second. Two gardens can share the same uses and look completely different, and once the uses are clear, the layout almost designs itself: each use gets a place, and the places get joined by routes, views and planting.
Step two: test the ideas against your plot
This is where a measured survey earns its keep. Levels, drainage, aspect, overlooking windows, mature trees, boundaries and access all decide which of your ideas survive contact with reality. On the heavy clay across much of Sussex and the Surrey border, for instance, a sunken seating area needs land drainage designed in from the start, and a south-facing terrace is worth moving a lawn for. Precision at this stage is what separates a garden that looks right on paper from one that works for decades - it is the same principle behind the measuring tools we use on every survey, and the reason we rate specialists like Core LP, who champion getting the numbers right before the build begins.
Watch: how a design comes together on site
This short reel follows one of our recent projects from collected ideas to a finished layout - a useful visual companion to the steps above.
Step three: edit down to one coherent palette
The gardens that feel calm and expensive are restrained: one paving, one timber tone, one hedge species, repeated. When we join clients' ideas up, the final step is usually taking materials out until everything left earns its place. If you love both porcelain and sandstone, pick one for the main terrace and let the other appear once, deliberately, as a detail - a step, a threshold, a coping.
A simple test for every idea
- Does it fit the levels and drainage of the plot as it actually is?
- Does it support one of the uses you listed, or is it decoration competing for space?
- Does it share materials or tones with the rest of the design?
- Will it still work in ten years, or is it a trend you will want to undo?
Step four: plan the build before anything is dug
A finished design is not a mood board - it is a scaled plan with levels, drainage runs, services, material specifications and a build sequence. That plan is what lets a build team price accurately, order once, and avoid the expensive mid-build changes that blow budgets. It is also what lets you phase the work: terrace and drainage this year, studio or pergola next, with the groundworks for both done in the first visit.
What this looks like in practice
On a recent Cuckfield project the client arrived with ideas for a studio, an entertaining terrace, a veg garden and a wildflower bank. The plot could hold three of the four comfortably. We kept the studio, the terrace and the bank, moved the veg growing into raised planters along the terrace edge, and the garden is better for the edit - every zone has room to breathe and the whole plot reads as one design rather than a list.
If you are at the folder-of-ideas stage, that is exactly the right time to talk. A short design conversation now is far cheaper than a redesign after the groundworks are in.
Common questions
- How do I turn my garden ideas into a design?
- Start by grouping your saved ideas by how you want to use the garden rather than by style. A designer then tests those uses against your plot's levels, aspect, drainage and boundaries, and edits the ideas down to the ones that genuinely fit. The result is one scaled plan rather than a collection of features.
- Do I need a garden designer or can I plan it myself?
- Simple refreshes - new paving, a bed, a hedge - are fine to plan yourself. Once a project involves level changes, drainage, structures or a budget above a few thousand pounds, a measured design almost always saves more than it costs by preventing rework and wrong material choices.
- How long does the garden design process take?
- From first site visit to a buildable plan, allow four to eight weeks depending on the complexity of the plot and how many revisions you want. Booking the build itself typically runs two to six months ahead with established design-build teams, so starting the design in autumn or winter is ideal for a spring build.
Related services
Where we work
We design and build gardens, garden rooms and pergolas across Mid Sussex and the surrounding towns.
More garden design guides
- Garden Design in Cuckfield: What a Bespoke Design Process Actually InvolvesFrom the first site survey to the finished build, here is exactly how a bespoke garden design unfolds for a Cuckfield home - and what to expect at each stage.
- Luxury Garden Design in Haywards Heath: Costs, Timelines and What to ExpectA frank guide to budgets and programme for a high-end garden in Haywards Heath - what drives cost, what protects value, and where to spend first.
- Sloping Gardens in the South Downs: Terracing, Steps and Retaining WallsA slope is an opportunity to build a garden with rooms, views and drama - provided the engineering underneath it is taken seriously.